Tuesday, February 19, 2019


Saturday, February 9, 2019
Thursday, January 24, 2019
Wednesday, January 2, 2019
Aprendiendo cosas sobre Pixelmator Pro.
Usando un pincel con varios colores y aplicando efecto mandala. Luego se le pueden variar algunas cosas y dan imágenes increíbles.


Saturday, December 22, 2018
New bird looks like an angry bird. Ildikko's pattern of the sparrow modified using some 3D printed parts.

This are both made using Ildikko's pattern. In the yellow bird I 3D printed the legs and the beak and in both I used safety eyes with 3D printed eyeballs.

Here are the new Amigurumis added to the collection.


Friday, December 21, 2018


Monday, December 17, 2018
Ildikko Struning made us a present.
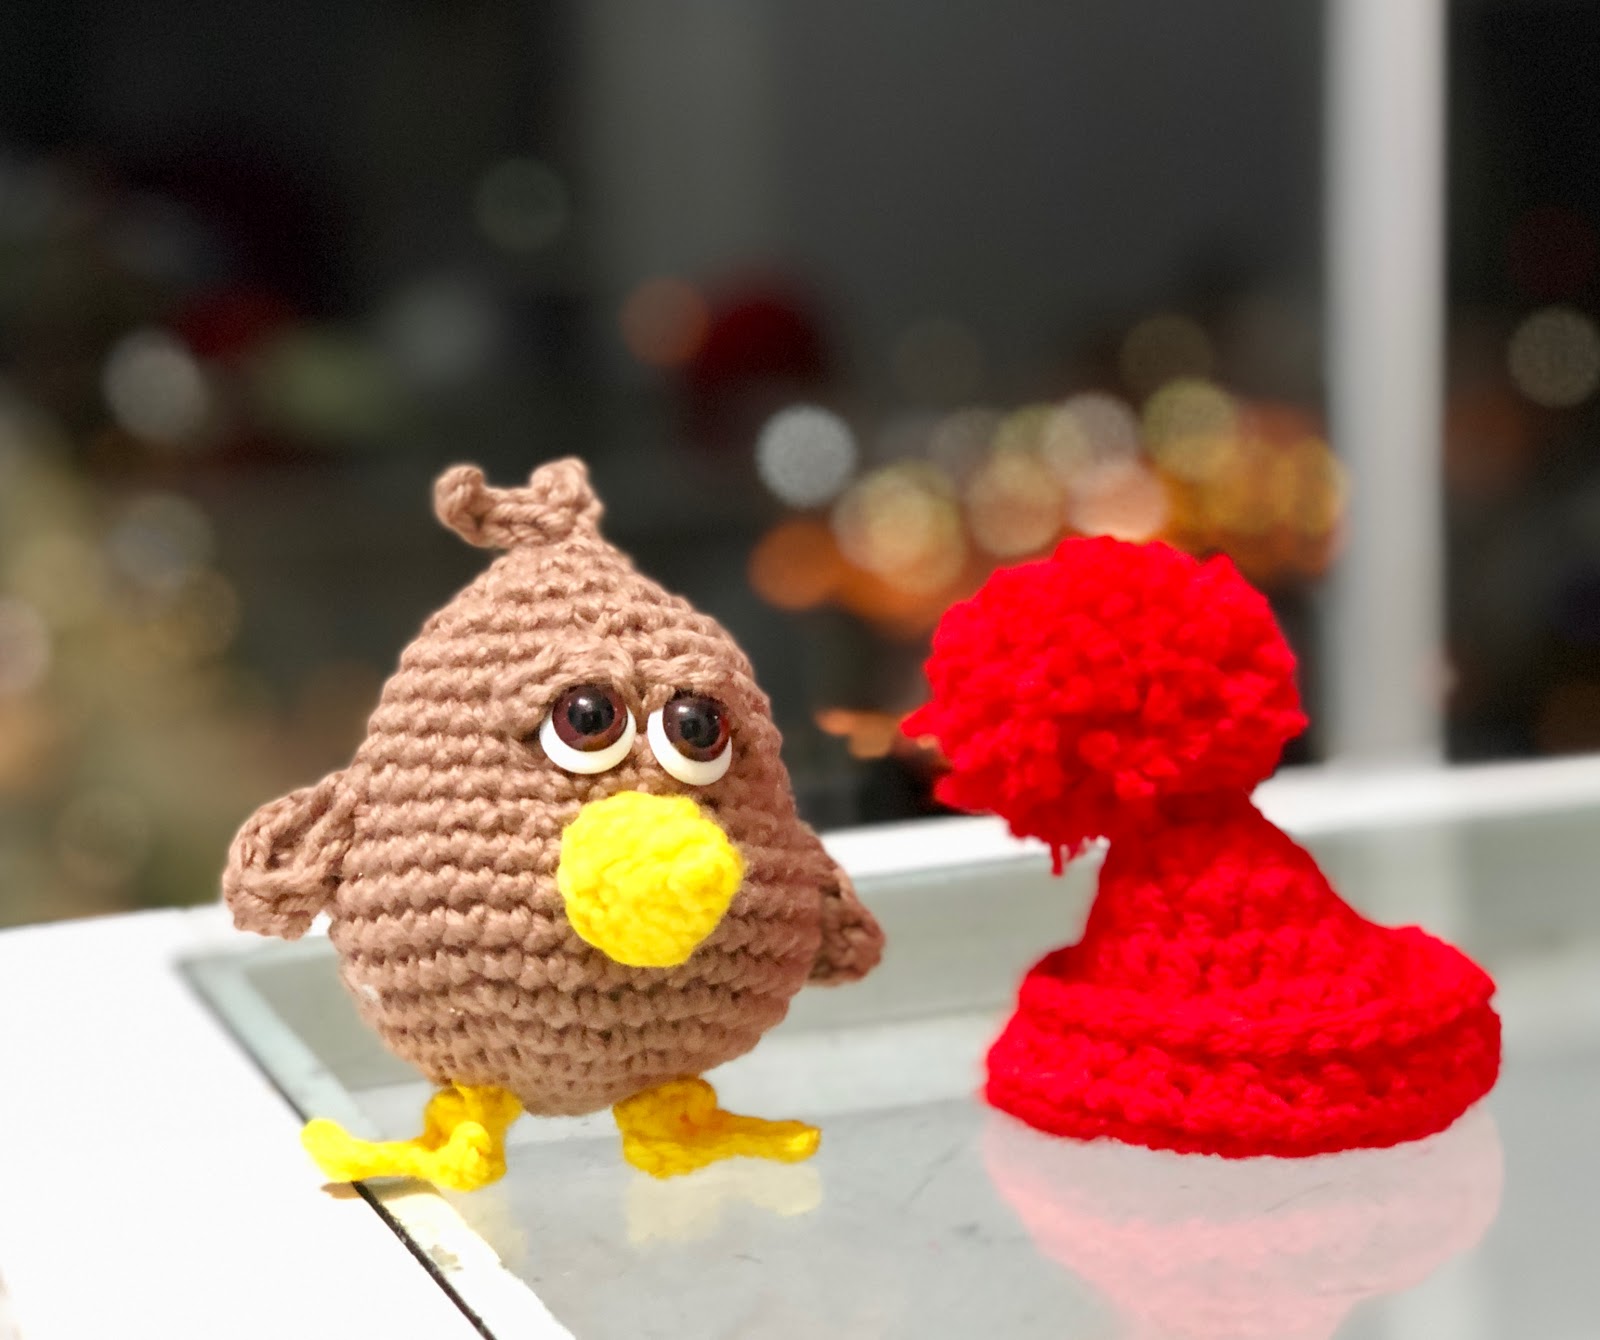
I made this cute sparrow with Ildikko's Christmas present: This pattern.
I changed its eyes a little bit.
It made me try to 3D print a pom pom maker.
I have to make it better. But the pom pom came out Ok.


I changed its eyes a little bit.
It made me try to 3D print a pom pom maker.
I have to make it better. But the pom pom came out Ok.


Friday, December 7, 2018
Learning Blender with Sebastian Lague
For the first time I learned a little bit of UV mapping. I still cannot get a render with the colors I painted in his UVs.
I am gaining confidence in modeling. Now I could understand better about UVs.
I don't have photoshop but Pixelmator Pro worked very well. The only thing I couldn't figure out is how to lock transparent pixels, but I think Pixelmator does this automatically because painting was rather easy. I didn't separate exactly all the pieces, something I will have to remember for my next try. But I think the guy is coming along fine.
Next video I will make the rigging. Let's see how that works.
This is what I could achieve:

I am gaining confidence in modeling. Now I could understand better about UVs.
I don't have photoshop but Pixelmator Pro worked very well. The only thing I couldn't figure out is how to lock transparent pixels, but I think Pixelmator does this automatically because painting was rather easy. I didn't separate exactly all the pieces, something I will have to remember for my next try. But I think the guy is coming along fine.
Next video I will make the rigging. Let's see how that works.
This is what I could achieve:

Wednesday, December 5, 2018
Sunday, December 2, 2018
3D printed dripping napkin holder
Buscando ideas encontré esta que me pareció buena para un servilletero, y diseñé uno. Me gustó como quedó y lo comparto.

Tuesday, November 27, 2018
Monday, November 19, 2018
I am learning Blender
I watched some tutorials to make this little guy. Of course some parts of the tutorial are incomplete so I had to impovise but I am happy I could do this. Specially understanding a little more about uvs.
I have a lot to learn about everything but it is a lot of fun. So I proudly introduce this little boy.

I have a lot to learn about everything but it is a lot of fun. So I proudly introduce this little boy.

Sunday, November 18, 2018
3D printed Clothes' hanger with the shape of a hand.
So I am studying Blender.
I wanted to learn designing with Blender for 2 reasons. One is to be able to design more complex geometries to 3D print. Fusion 360 is wonderful but it was hard to me to go to the sculpt environment. I find it easier with Blender.
The second reason is would love to make animated characters like my sons'. Of course I am ages from learning what he knows and he has a wonderful imagination with a sense of humor that I lack. This that not mean I cannot develop it. So I am working on it.
Here is my first creation.


The problem is how to add really flat surface to be 3D printed. How do I make these perfect holes, chamfers, etc that can be so easily done with fusion. Importing the hand as an obj or stl file and then transform it to a body it very hard and you have to loose resolution.
But have the Windows 3D builder. This helped me a lot. I could make cubes, make holes with cylinders, cave the chamfers for the screws with cones. Not exact but it turned out pretty good.
I am very happy with my achievement. Maybe if the coat is to thick the fingers aren't separated enough. I should work on this. One friend gave me the idea to change the position of the fingers like curving one of the middle ones. But for now this is what I got.
Now I am working in a souvenir from Punta del Este. The "dedos or hand" sculpture.
O by the way I don't imagine anybody is interested in buying the file but I uploaded it to cgtrader
https://www.cgtrader.com/3d-print-models/house/accessories/hand-coat-hanger
and to sketchfab https://sketchfab.com/models/b430d72b0ae8405ea1fc10f4e4205356
I wish they let me sell it for less than 3 dollars. But they don't allow you. My idea is to get some money to help me buy the filament and mantainment of my 3D printer.
I wanted to learn designing with Blender for 2 reasons. One is to be able to design more complex geometries to 3D print. Fusion 360 is wonderful but it was hard to me to go to the sculpt environment. I find it easier with Blender.
The second reason is would love to make animated characters like my sons'. Of course I am ages from learning what he knows and he has a wonderful imagination with a sense of humor that I lack. This that not mean I cannot develop it. So I am working on it.
Here is my first creation.


The problem is how to add really flat surface to be 3D printed. How do I make these perfect holes, chamfers, etc that can be so easily done with fusion. Importing the hand as an obj or stl file and then transform it to a body it very hard and you have to loose resolution.
But have the Windows 3D builder. This helped me a lot. I could make cubes, make holes with cylinders, cave the chamfers for the screws with cones. Not exact but it turned out pretty good.
I am very happy with my achievement. Maybe if the coat is to thick the fingers aren't separated enough. I should work on this. One friend gave me the idea to change the position of the fingers like curving one of the middle ones. But for now this is what I got.
Now I am working in a souvenir from Punta del Este. The "dedos or hand" sculpture.
O by the way I don't imagine anybody is interested in buying the file but I uploaded it to cgtrader
https://www.cgtrader.com/3d-print-models/house/accessories/hand-coat-hanger
and to sketchfab https://sketchfab.com/models/b430d72b0ae8405ea1fc10f4e4205356
I wish they let me sell it for less than 3 dollars. But they don't allow you. My idea is to get some money to help me buy the filament and mantainment of my 3D printer.
Tuesday, November 13, 2018
Saturday, November 10, 2018
Stl files for Ildikko Chimp skeleton on CGTrader
I uploaded the stl files for the 3D pinted skeleton for Charles the Chimp designed in crochet by Ildikko Struning.
She made the cutest crochet pattern. It is sold at: https://www.craftsy.com/crocheting/patterns/charles-the-chimp-amigurumi-pattern/604991
Her skeleton is made with copper wire. I thought maybe it helps to add a skeleton to avoid the bending of wire in some parts. So I made some bones with joints. And added 3D printed eyes and teeth just for fun, as well as a 3D printed banana.
The stl files can be downloaded from:
https://www.cgtrader.com/3d-print-models/games-toys/other/3d-print-a-skeleton-for-ildikko-charles-the-chimp
And you can watch a video tutorial on the assembling of the skeleton in the crocheted Chimp.
She made the cutest crochet pattern. It is sold at: https://www.craftsy.com/crocheting/patterns/charles-the-chimp-amigurumi-pattern/604991
Her skeleton is made with copper wire. I thought maybe it helps to add a skeleton to avoid the bending of wire in some parts. So I made some bones with joints. And added 3D printed eyes and teeth just for fun, as well as a 3D printed banana.
The stl files can be downloaded from:
https://www.cgtrader.com/3d-print-models/games-toys/other/3d-print-a-skeleton-for-ildikko-charles-the-chimp
And you can watch a video tutorial on the assembling of the skeleton in the crocheted Chimp.
Thursday, November 8, 2018

Friday, November 2, 2018
Sunday, October 28, 2018
Subscribe to:
Posts (Atom)